Showing posts with label Finishing. Show all posts

Thursday, April 7, 2016

(Early) Spring: Knitting Color & Knitting Progress

My newest knitting yarn is this.


Three skeins of Silken Straw by Alchemy Yarns of Transformation.  It is a 100% silk ribbon yarn in a colorway called Spider Orchid.  (I cannot really explain why -- but, to me, the variegated color is all about early spring -- like the pine trees through the window in the photo, or the shadows under the trees where there will soon be flowers -- )

I want to make a spring/summer top with it.  I am going to work hard to make it a design of my own.  Maybe you cannot tell from the photo, but it is a special yarn... (not at all inexpensive), unique in color, and well, it is a "yarn of transformation".

From the Alchemy website:
"The first touch. The initial glimpse of Alchemy Yarns of Transformation tells you we are passionate about everything we do. Pleasing the senses. Soothing the soul -- we strive for nothing less than the transformative moment in art and life." 

I hope that I can do justice to all of that.

In the meantime, I have been knitting away on my Hart (designed by Julie Hoover) and I am almost finished with the first I have a good start on the second sleeve.  (Does it really take me longer to finish editing a blog post than it does to knit a sleeve?)

The back of my Hart blocked out to an appropriate width but is a bit longer than I expected (I knit it an inch and a half shorter than the pattern). The Shibui Knits Pebble (silk, merino and cashmere) is lovely and light, so I am hoping I will like it in what will be a rather long cardigan for me.


The fronts are ready to come off the blocking board.  I used a technique I call "piggyback blocking", described in a previous blog post Helene Update: Piggyback Blocking.


The right front of Hart was laid over the left front.  This saves time in measuring the second front.  You only have to check measurements on the first piece.  After it dries, spread the second (symmetrical) piece on top to match the shape of the piece below and re-pin all of the edges.  I expect to block the two sleeves in a similar fashion.

This paragraph is for critical knitters only!  Please feel free to skip it if you are not a (critical) knitter.
I'll be the first to admit that my side seam edges are not very straight, but I know that they will be fine once I seam them.  The front edges have a narrow icord in which I wove a blocking wire for each piece.  I chose not use wires on the side seam edges.  (With the waist shaping, it would take three of my not very flexible wires per piece.)  I also chose not to work the selvedge stitch as in the pattern.  I did try it for the first couple inches of the back.  The slip stitch selvedge was straighter, but it also caused a looseness in the nearby stitches that would not be at all helpful when working the actual seams.   This, my friends, is truly a matter of the personal preference of the knitter.

I hope that you are enjoying your own early spring (with or without knitting)!  

Sunday, February 7, 2016

A Straightforward Zipper Insertion -- The Stitching

For some helpful tips on pinning a zipper into a sweater, see my last post, A Straightforward Zipper Insertion -- The Pinning.

Stitching the zipper into my Everyday Cardigan -- even with a few stops to attempt to get helpful photos -- took only a bit more that an hour.


USE A BACKSTITCH WORKED BY HAND FOR MOST ZIPPER INSERTIONS.

That is my #3 BIG something that really is a part of 'everything you need to know' about inserting a zipper of your own.


Sewing a zipper in by hand prevents the stretching that can happen when using a sewing machine on a handknit fabric.

Whenever I work backstitch, I always think of it as 'one stitch back and two stitches forward'. The backstitch, as shown in the illustration, is commonly used in hand embroidery to create a line.


You will start on the wrong side by securely stitching one end of the zipper to the sweater. Then work one or two small stitches above that. (Try not to let any of this show on the right side.)


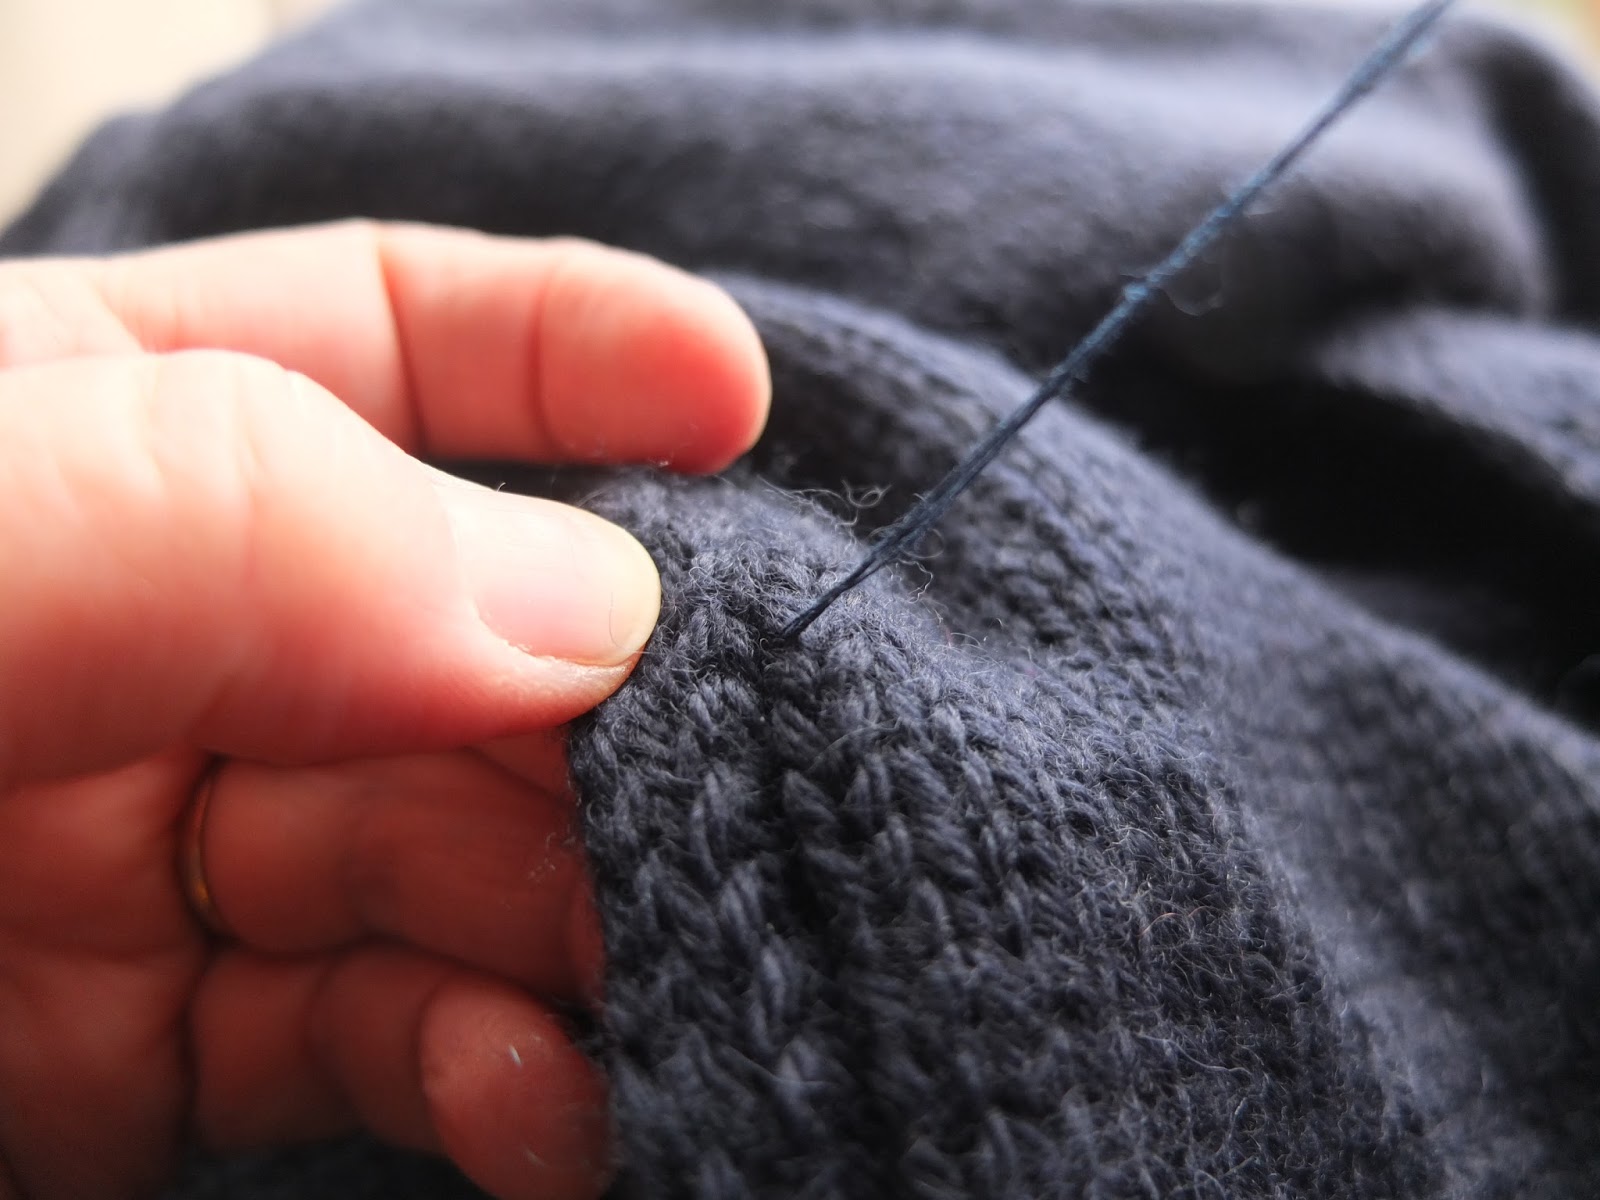
Bring the needle out to the right side. Locate the column of stitches that will be your stitching guideline. As I mentioned in my last -- The Pinning -- post, the "well" where the I-cord is attached to the front of this sweater will perfectly locate and hide the stitch line. In this next photo, I am just using the needle as a pointer to show my planned stitch line.


Beginning the backstitch looks like this.


The steps you will be repeating:

1) Insert the needle in about one half of a row of knitting before where the last stitch came out.


2) Guide needle out two whole rows above where the last stitch came out.


3) Draw out needle to complete the stitch.


Remove pins just before you get to them. Check the wrong side fairly often to see that the stitches are appropriately located near the center of zipper tape which was you pin line.

When you get to the end of the zipper you will need to turn back to the wrong side to securely stitch the end of the zipper as you did at the start.


My project, named Everyday Sweater, really is all that.

Tuesday, February 2, 2016

A Straightforward Zipper Insertion -- The Pinning


One of the reasons it has taken me so very long to complete my Everyday Sweater zipper insertion is because I wanted to take some photos of the process and maybe even write a tutorial on it.

It has become obvious that this is NOT a sweater that will allow me show you 'everything you need to know' about inserting a zipper of your own.  This is one of the most straightforward zipper insertions that I have ever come across.

The applied i-cord edging all around the the piece (after blocking) has already made the corners as finished looking as can be.  My purchased zipper is a perfect length (requires no shortening) and the navy color was easily matched.  I will stitch the zipper in place by hand (as I do for most knitted garment zippers)... but I will not have to worry about how the stitches will look because... (1) The navy thread will also match perfectly making the stitches less visible, even on the wrong side, (something I can get fussy about)... (2) On the right side, the "well" where the I-cord is attached will perfectly both locate and hide the stitch line.

ALL ZIPPER INSERTIONS DEPEND ON DOING A GOOD JOB OF PINNING AND/OR BASTING.

OK, that truly is a #1 BIG something that really is a part of 'everything you need to know' about inserting a zipper of your own.

I have carefully pinned the zipper in place.  Starting with the top and bottom...


and then pinning in between.  A cardboard backed tablet helped me keep the pins through just the front layer.


I folded the top edges of the zipper tape at an angle to match the start of the v neckline.

  
Note:  Because of the i-cord, the knitted edges will meet at the center of the zipper covering the teeth.  For most sweaters with zippers, the edges cover only the zipper tape leaving the teeth exposed.

(IT HAS BEEN MY EXPERIENCE THAT) EVERY ZIPPER INSERTION TURNS OUT TO BE UNIQUE IN ITS OWN WAY.

And that is a #2 BIG something that really is a part of 'everything you need to know' about inserting a zipper of your own.

Photos of the hand-stitching will appear in my next post. 

Tuesday, January 12, 2016

Oops, I Did It Again

Yesterday, I cast-on for a new sweater just for me.


I was NOT supposed to do that.

I have more than enough knitting for now with a magazine project on the needles that is due in early February. I have a couple of sweaters (I wish to blog about) that need finishing. Some pattern writing and formatting are weighing on me as well.

Casting-on for a new sweater was an easy trap for me to fall into...

First I saw this blog post by Sally Rainey in praise of both the pattern and the yarn. The pattern was designed by Julie Hoover (my newest favorite designer). After I read the post, I bought Julie's Leigh pattern and her Hart pattern as well. (Check them out if you have a minute. Just. Beautiful.)

And the yarn! Sally used the same yarn Julie wrote the pattern for, and it is one that I enjoyed swatching with at a "Shibui Yarn Tasting Party" at Gosh Yarn It! last year. Shibui Pebble [48% recycled silk, 36% merino and %16 cashmere] is a marvelously tweedy, light as air, lace-weight yarn that is held double when knitting Leigh. I bought eight skeins of it in the 'ash' coloway during the Gosh Yarn It! year-end sale (the day after I bought the patterns).

I had the yarn. I had the pattern. Yesterday, I swatched and cast-on for Leigh, and I knit a good inch or two.

I was NOT supposed to do that.

At some point during one of my daughter's visits over the holidays, we were in a car together and talking about knitting. (I can't remember why we were in the car, or why we were talking about knitting.) I said to my daughter, "I think I have reached a point where all of my future knitting will be my own designs... even sweaters. I don't think I will ever use any other designer's patterns again." 

In Julie Hoover's recent blog post she says she was obsessed with Pebble in 2014 when she wrote several patterns for it. She says she is still obsessed, and she was about to cast-on for a Cohle (also beautiful) as part of a KAL she is hosting. She referred to the project as her "pleasure knitting". Note: It is something she will enjoy knitting, but it is her own pattern.

Sadly for me, I must stop and think about NOT making this Leigh. I would enjoy the experience of knitting one of Julie's designs, but as a designer myself, I know that I really could make a sweater of my own design using the Pebble.

I keep thinking about what my daughter said to me in that car after I said what I said. She said, "Those are fight'n words!"

I guess I will be frogging that little bit of Leigh. It has been a fight for me to decide that.

And I thought that she was just joking!
 

Tuesday, January 27, 2015

In Pieces


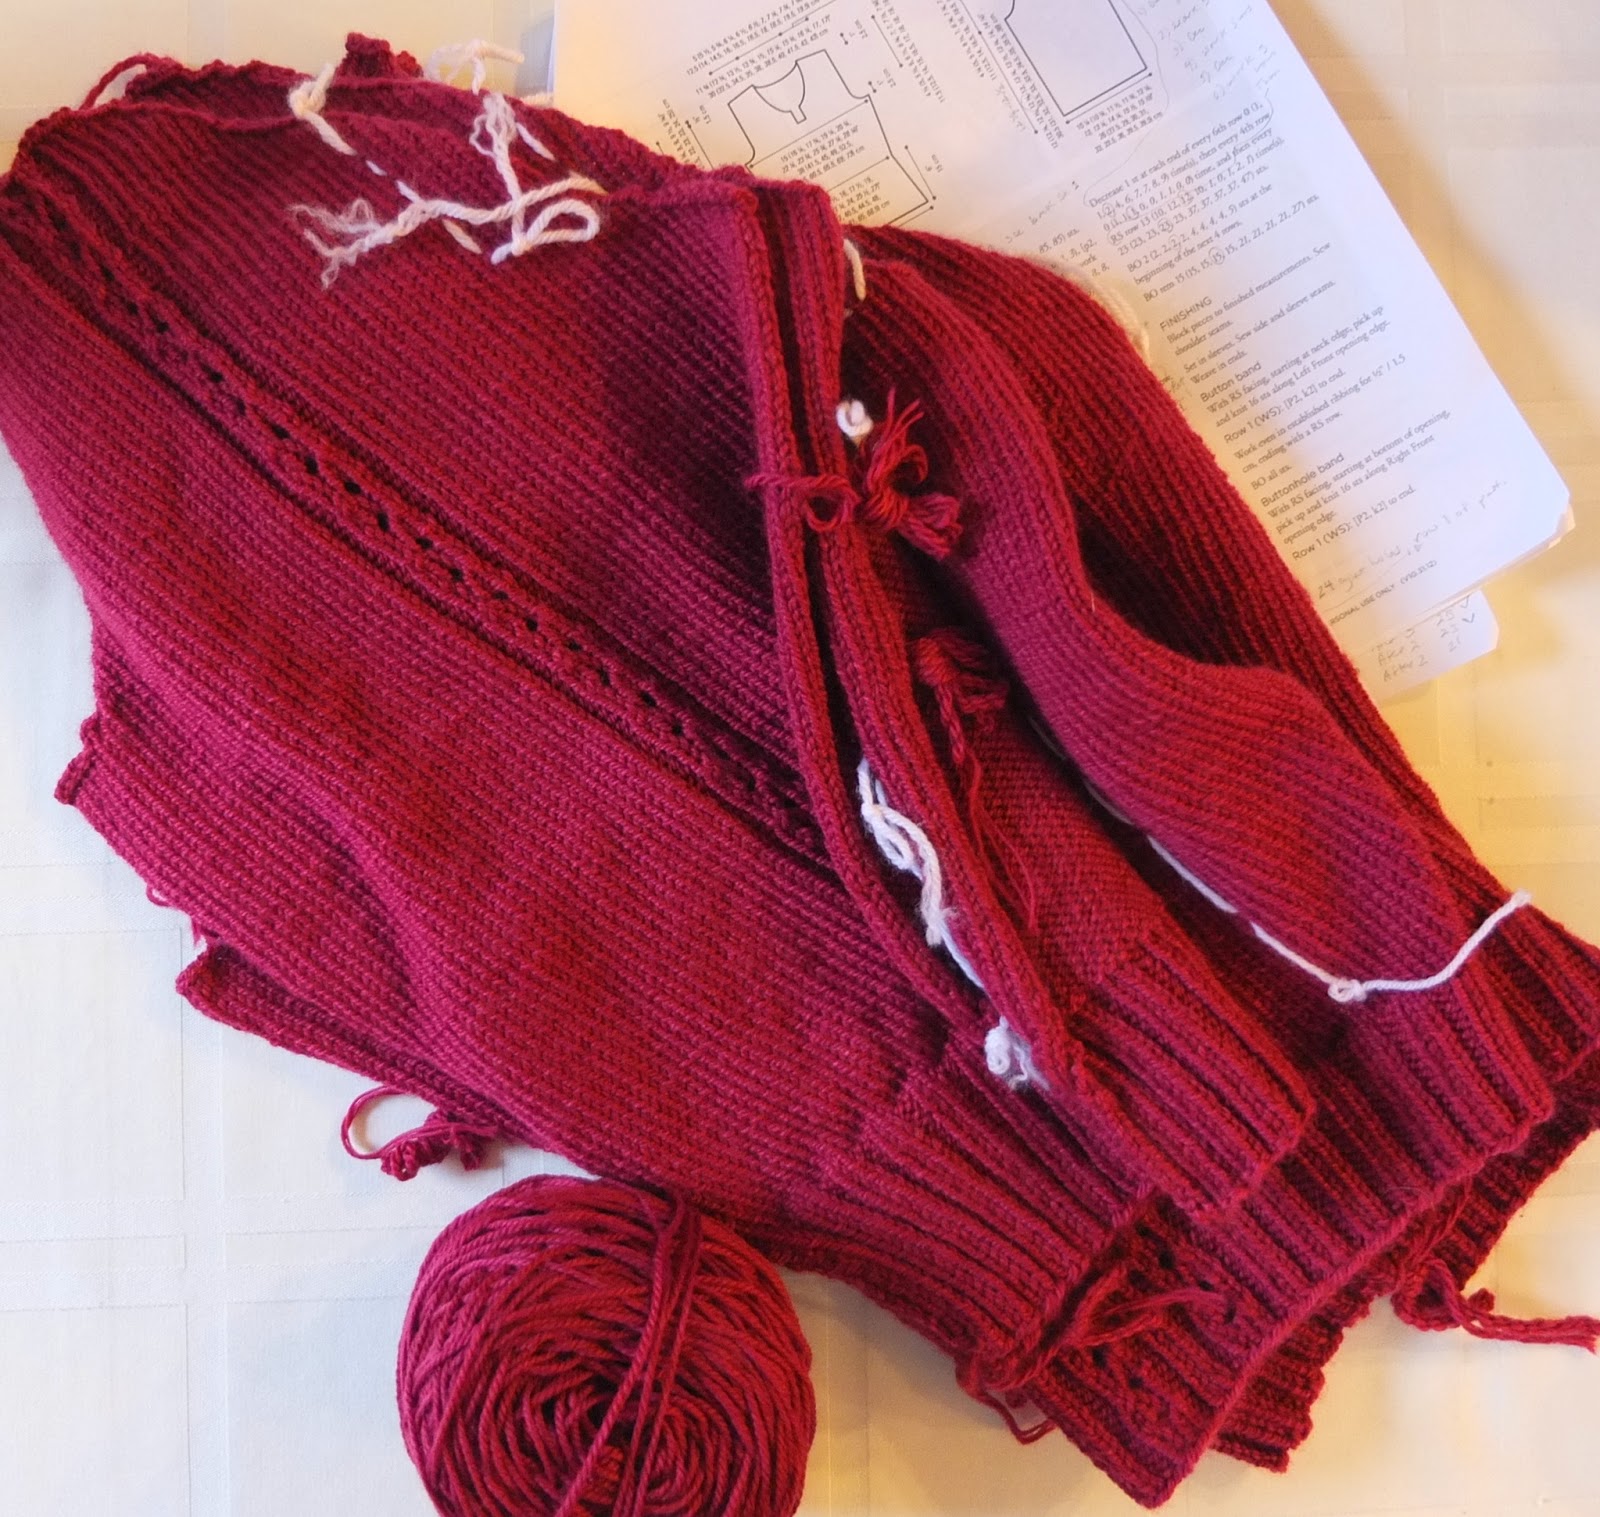
One day last week, I finished knitting all of the pieces for my "Everyday Sweater".  I blocked them in my usual way:  I hand-washed them and laid them out to dry on towels.  You can see that blocking has greatly reduced, but not totally eliminated, the natural tendency of stockinette stitch to curl.  I could flatten the pieces a bit more by steam pressing them, but I do not think it necessary.  Seaming will be next, followed by I-cord bind-off to finish the edges, and finally the insertion of a zipper.  Depending on my time and the winter light, I hope to share some photos.  

The pattern is "Cuirassier's Cardigan" by Emma Welford from the recent Winter 2014 Knitscene magazine.  I am using an old standby kind of a yarn:  Cascade 200 in navy.  This project is an attempt to knit a sweater that I can and really will wear everyday.  Over the years, I have made a great number of sweaters that I have rarely worn.  I would like to have a few that actually fit within my everyday workday wardrobe.  My goal for my next couple of sweaters will be wearability.  Time will tell if I am successful.

Meanwhile, how about a sneak peek of a design that my daughter has requested?


Unfortunately, the first "prototype" for this design has the wrong fit, and requires a complete "do over".  Not all bad, because I am always knitting anyway, and fortunately it is not a very large piece.  The yarns that my daughter selected from my stash include some navy Cascade 220 (I did say it was an old standby) in a different dye lot from my newer navy sweater yarn.

I have one more stack of pieces to show you.


It has been a couple of months since I finished knitting all the pieces for my "Unnamed Henley".  The pattern is "Sapwood" by Amy Herzog available at Twist Collective.  The yarn: Louet Gems Sport Weight.

I had been saving the finishing work on this project for the purpose of teaching finishing classes (at Gosh Yarn It!) but they were canceled (student sign-ups were below the shop's class minimum).  Perhaps they might be rescheduled; but either way, I do plan to create some tutorial posts during the finishing of this one.  The color is lighter and brighter than the navy, and this one involves some buttons and buttonholes.

Please leave a comment if you have any thoughts on these pieces, or on finishing, or on classes that you would like to take.  I would love to hear from you!  Thanks!

Monday, June 23, 2014

On the Blocking Board

(Most of) The knitting is now done on my linen Die Cut Vest.


This photo shows the right and left half laid out on my blocking board before I 'seamed' the center back with a three needle bind-off.

The vest now lies pinned-out and still damp on the very same blocking board.


This was an odd piece to block. There is no doubt that the lace needed to be 'pinned-out' to open it up and flatten it, but I did not want to use pins or wires on the straight edges.  Pins or wires would leave the edges looking a little jagged.

For the final-final blocking, I will iron the edges flat and smooth, and maybe even steam the lace a bit more.  As I laid it out quite wet, I had to question myself for not hiding the yarn ends on the front edges and at the center back, but I guess that it will not matter too much in the end.  It also occurred to me (right around the same time) that it really would not have been too difficult to have added a little neckline shaping at the back neck... hum, if I make another... (Did you know that, in spite of how I pinned the shoulders in a way to create some curvature at the neck, there is zero neckline shaping on the front or the back of this vest?  I like to think that I will love it anyway, but... hum...)

After the piece dries, I can seam the shoulders.  Then comes the last bit of knitting... I will pick-up stitches around the armholes and work a couple of rows before binding-off.  After that I will hide the yarn ends wherever they may be.

  I will steam it as needed,
and I will try it on,    
and I will find out if I like it.   

So, this is me now, "On the Blocking Board".

Monday, May 5, 2014

Bigger Stuff (the 2nd) -- In Which I Install Many Snaps

For as long as I have been blogging, it seems that every April-into-early-May finds me writing about FO's...

It is my own kind of spring cleaning.  While the house (and my yard) could both use a whole  lot more of my time -- each spring has me finishing up (or sometimes packing away for hibernation) my wintery knitting so that I can begin (or get back to) some springtime knit-work.


 Project Name:  Bernadette
Pattern:  Lauriel from Little Red in the City by Ysolda Teague
Yarn:  Trendsetter Yarns Merino VI

I feel that I have already said a whole lot about this project over the 368 days that it took to make.  See my project page for "Bernadette" over on Ravelry to read about all of that.  And then, if you like, a bit more, from the blog approximately one year ago.


The pattern called for snaps and buttons, though it did not specify spacing or sizes.  I chose to place a button and snap set between each rib, which is much closer than what it pictured in the book.  I did not want any pulling or gaps with the rather close fit of the cardigan.  My button choice is a smallish 5/8" diameter button with size 2 snaps.  There  are no gaps.  The effect reminds me of "snap tape", and I like that.

It took (what seemed like) a great many hours to sew on all (15) buttons and snap sets.  I finished this just before Easter.  I wanted to wear it for the holiday, but it was actually too warm of a day here.  I have worn it twice since then, yet I do not have a photo of me wearing it.

Happy knitting (and finishing) to you!  (Happy spring cleaning, as well!)
 

Friday, April 25, 2014

Bigger Stuff (1 of 2) -- In Which I Install a Zipper

There has been a gap.

My last post "Small Stuff" was on April 8.

"Small Stuff" was about a handful of smaller FO's that I made mostly in the first 3 months of this year.  In April, I finished some "Bigger Stuff".

I finished stitching the zipper into my Taiga #2 on April 12, 2014.  (I noticed when I entered this date on Ravelry that my finish date for the project was exactly 1 year after the start date.)


 Pattern: Taiga by Svetlana Volkova
Yarn: Berroco Blackstone Tweed Chunky

Some of you may remember that in my sleeve post on this project, I mentioned finding two different zipper insertion tutorial-type posts. I ended up using neither, but bookmarking them for the future.

The first, for me, has a great idea for pinning in a zipper -- but with a selvedge edge being attached to the zipper.  It does also show using a hand stitched back-stitch to actually sew the zipper in place.  This is the stitching method that I do use most often; however, I hate the way it looks on the inside of the garment, and I usually end up adding a facing of some sort to hide the stitches.  My Taiga #2 already had a folded front facing made from a partially steeked edge.  Pinning the zipper to a selvedge edge was in no way possible, but also out of the question, was applying any sort of additional facing to hide the ugly hand stitching.

The second zipper post was, surprise!, in Swedish, but do scroll down to see it translated into English.  Now this is a zipper insertion I love for not having ugly uneven hand-stitching show on the inside!  But, I could not see using it on my Taiga, because of the Taiga's bulk and a little bit because it would be so very time consuming.  I know that I will use this on another sweater someday.

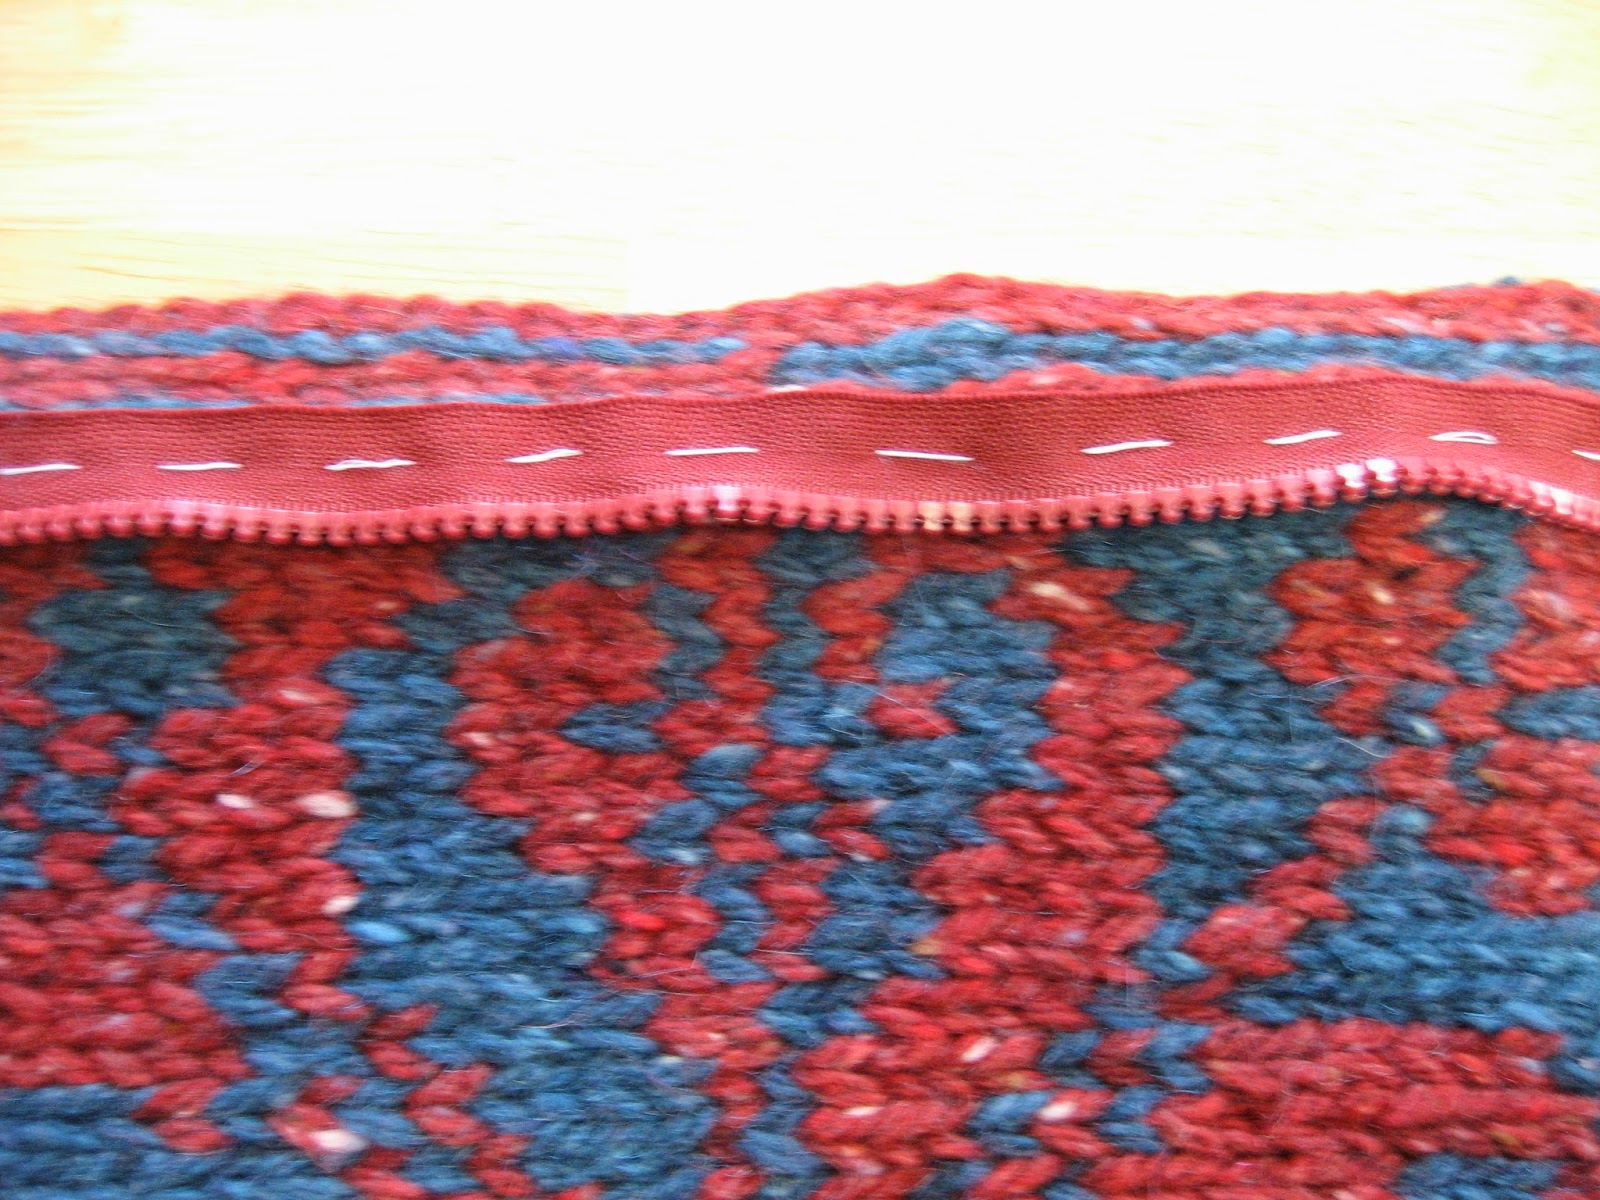
My final decision was to, surprise!, machine stitch the zipper in place.  Machine stitching with a thread closely matching the zipper color would certainly show the least on the wrong side.  First, I carefully replaced my "pin-basting" with a hand-stitched basting in contrasting white thread.

  
The white stitches were made exactly where the machine stitching would go through the knitting on the facing fold line.


I blame the bad lighting effect on my sewing machine light.

If you look very closely in the next photo you can see the cranberry color machine stitches.


After removing the white thread, I folded the facing back and sewed it  in place for the length of the neck ribbing, and from the lower edge of the sweater up to the top of the pocket facing.  Except for the yarn ends used at the very top and very bottom, I used the cranberry colored sewing thread so as not to add any more bulk.

A close-up photo may show why I like the stitching to look good on the inside.  If the top of the zipper is worn a bit opened, this stitching will show.


I consider my zipper application to be the best possible for this particular project.  A very important point I like to make about making (anything) is that what is best for one project might be very different from what is best for another.

Happy knitting (and finishing) to you!

Tuesday, April 2, 2013

Finishing Required

Pattern: 'Sheer Beauty' by Sandra McIver
Yarns: Shibui 'Staccato'
and Shibui 'Silk Cloud'
I expect that this swirl will eventually be fine, for now it is shriveled and sheer and it is taupe.  It reminds me of pantyhose.  I have quite a lot of ends to hide before I can block and then seam.


Pattern: 'Trace' by Kristin Spurkland
Yarns: Tahki Yarns 'Ripple'
This shell still needs the neckband knit.  I tried it on and I like it.  It fits well and I know that I will wear it.  The texture of the yarn is amazing.
 

Monday, September 17, 2012

Helene Update: Piggyback Blocking

Do you remember the linen pullover I was working on since early May?  The pattern is "Helene" by Veronik Avery and the yarn is "Sparrow", 100% linen by Quince & Co.

Both front and back are knit.  Here is the first piece being blocked last week.

First Piece Blocked September 6

This week I blocked the second piece in what I am (in my head) calling  the "piggyback" method.  ("In my head" because who in this house in this universe would I talk to about my blocking?  But now I am talking to you.)  This is a photo of my piggyback blocking.

Second Piece on Top of First Piece September 12

(Can you see the subtle differences in the photos?  That there are two layers and less blocking board showing through in the second one?)

When pinning out the first piece of this all-lace garment, I needed to have a tape measure and the schematic to make sure the dimensions were fairly close to what they needed to be for my size.  Extra time is needed to measure-adjust-and-measure again.  After it dried, it was quite a snap to simply lay out piece number two on top of piece number one, then remove and replace each pin through both pieces.  Wa-La: piggyback blocking.

Removing Pins September 17

Maybe this could help you someday if you ever need to block two all-lace identically sized pieces...  maybe...