My newest knitting yarn is this.
Three skeins of Silken Straw by Alchemy Yarns of Transformation. It is a 100% silk ribbon yarn in a colorway called Spider Orchid. (I cannot really explain why -- but, to me, the variegated color is all about early spring -- like the pine trees through the window in the photo, or the shadows under the trees where there will soon be flowers -- )
I want to make a spring/summer top with it. I am going to work hard to make it a design of my own. Maybe you cannot tell from the photo, but it is a special yarn... (not at all inexpensive), unique in color, and well, it is a "yarn of transformation".
From the Alchemy website:
"The first touch. The initial glimpse of Alchemy Yarns of Transformation tells you we are passionate about everything we do. Pleasing the senses. Soothing the soul -- we strive for nothing less than the transformative moment in art and life."
I hope that I can do justice to all of that.
In the meantime, I have been knitting away on my Hart (designed by Julie Hoover) and I am almost finished with the first I have a good start on the second sleeve. (Does it really take me longer to finish editing a blog post than it does to knit a sleeve?)
The back of my Hart blocked out to an appropriate width but is a bit longer than I expected (I knit it an inch and a half shorter than the pattern). The Shibui Knits Pebble (silk, merino and cashmere) is lovely and light, so I am hoping I will like it in what will be a rather long cardigan for me.
The fronts are ready to come off the blocking board. I used a technique I call "piggyback blocking", described in a previous blog post: Helene Update: Piggyback Blocking.
The right front of Hart was laid over the left front. This saves time in measuring the second front. You only have to check measurements on the first piece. After it dries, spread the second (symmetrical) piece on top to match the shape of the piece below and re-pin all of the edges. I expect to block the two sleeves in a similar fashion.
This paragraph is for critical knitters only! Please feel free to skip it if you are not a (critical) knitter.
I'll be the first to admit that my side seam edges are not very straight, but I know that they will be fine once I seam them. The front edges have a narrow icord in which I wove a blocking wire for each piece. I chose not use wires on the side seam edges. (With the waist shaping, it would take three of my not very flexible wires per piece.) I also chose not to work the selvedge stitch as in the pattern. I did try it for the first couple inches of the back. The slip stitch selvedge was straighter, but it also caused a looseness in the nearby stitches that would not be at all helpful when working the actual seams. This, my friends, is truly a matter of the personal preference of the knitter.
I hope that you are enjoying your own early spring (with or without knitting)!
For some helpful tips on pinning a zipper into a sweater, see my last post, A Straightforward Zipper Insertion -- The Pinning.
Stitching the zipper into my Everyday Cardigan -- even with a few stops to attempt to get helpful photos -- took only a bit more that an hour.
USE A BACKSTITCH WORKED BY HAND FOR MOST ZIPPER INSERTIONS.
That is my #3 BIG something that really is a part of 'everything you need to know' about inserting a zipper of your own.
 Sewing a zipper in by hand prevents the stretching that can happen when using a sewing machine on a handknit fabric.
Whenever I work backstitch, I always think of it as 'one stitch back and two stitches forward'. The backstitch, as shown in the illustration, is commonly used in hand embroidery to create a line.
Sewing a zipper in by hand prevents the stretching that can happen when using a sewing machine on a handknit fabric.
Whenever I work backstitch, I always think of it as 'one stitch back and two stitches forward'. The backstitch, as shown in the illustration, is commonly used in hand embroidery to create a line.
You will start on the wrong side by securely stitching one end of the zipper to the sweater. Then work one or two small stitches above that. (Try not to let any of this show on the right side.)
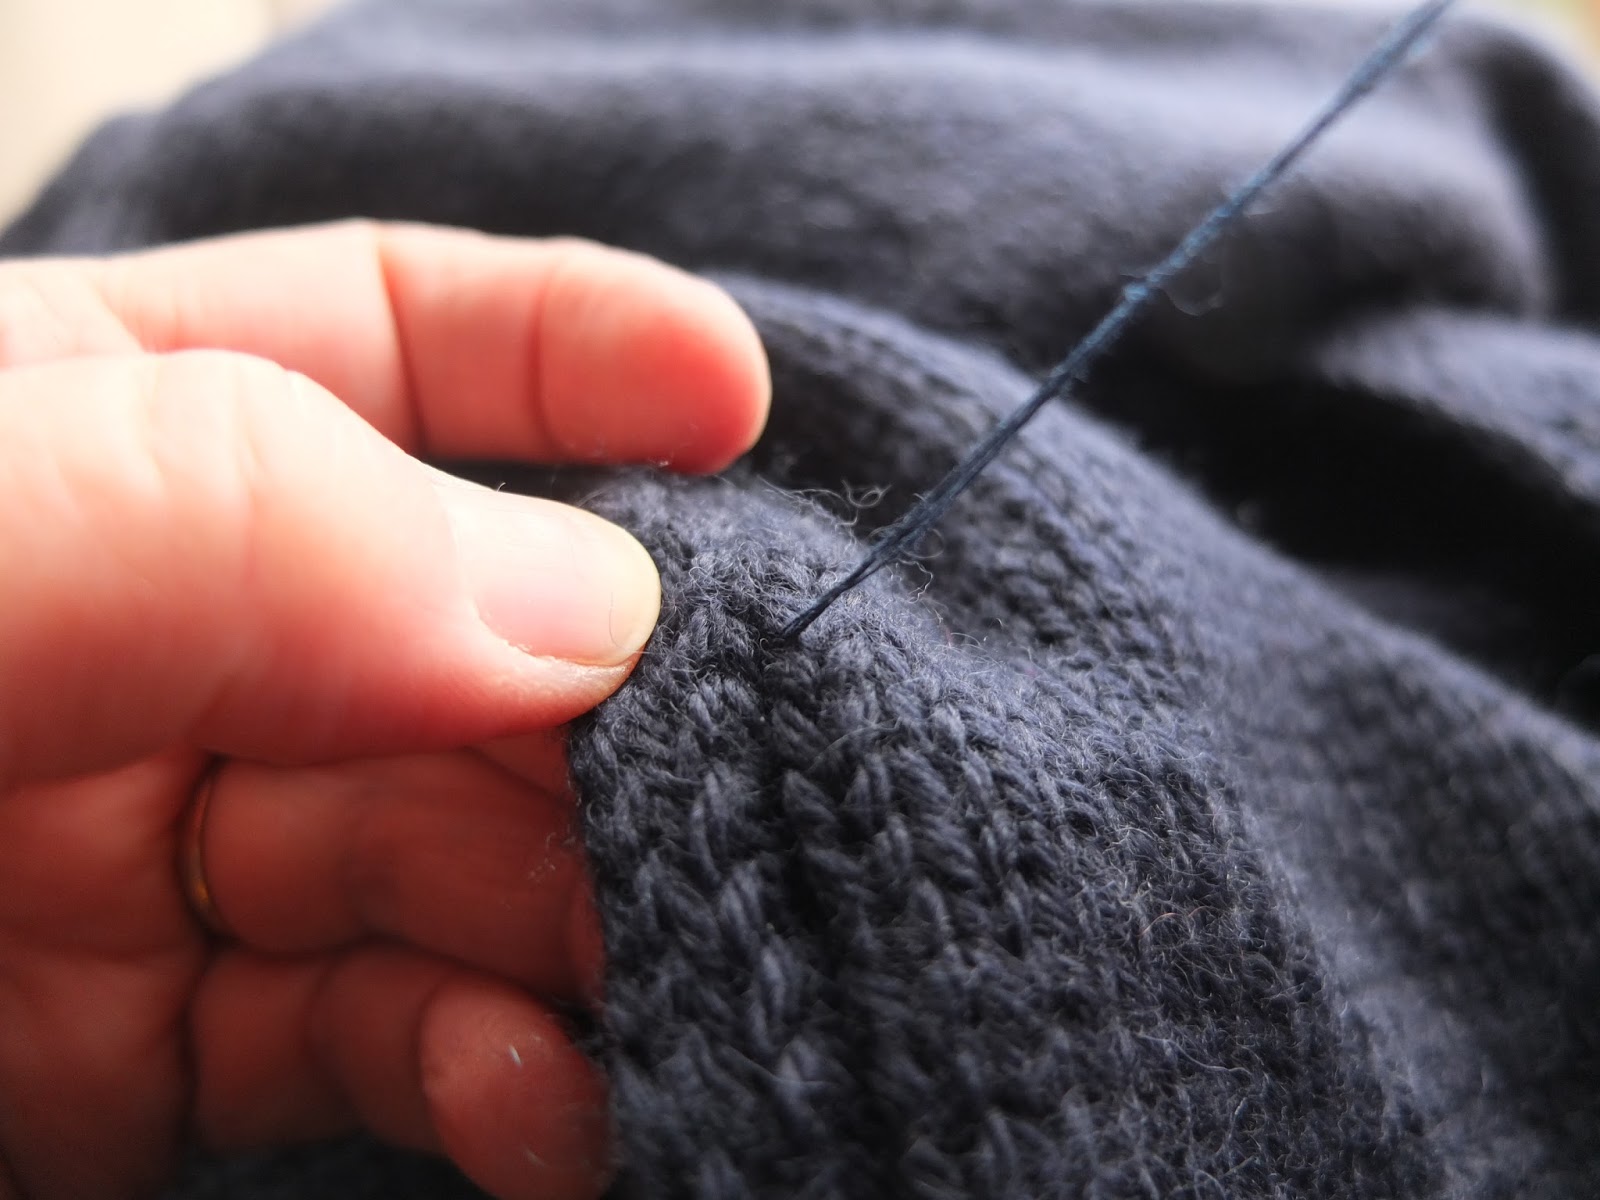
Bring the needle out to the right side. Locate the column of stitches that will be your stitching guideline. As I mentioned in my last -- The Pinning -- post, the "well" where the I-cord is attached to the front of this sweater will perfectly locate and hide the stitch line. In this next photo, I am just using the needle as a pointer to show my planned stitch line.
Beginning the backstitch looks like this.
The steps you will be repeating:
1) Insert the needle in about one half of a row of knitting before where the last stitch came out.
2) Guide needle out two whole rows above where the last stitch came out.
3) Draw out needle to complete the stitch.
Remove pins just before you get to them. Check the wrong side fairly often to see that the stitches are appropriately located near the center of zipper tape which was you pin line.
When you get to the end of the zipper you will need to turn back to the wrong side to securely stitch the end of the zipper as you did at the start.
One of the reasons it has taken me so very long to complete my Everyday Sweater zipper insertion is because I wanted to take some photos of the process and maybe even write a tutorial on it.
It has become obvious that this is NOT a sweater that will allow me show you 'everything you need to know' about inserting a zipper of your own. This is one of the most straightforward zipper insertions that I have ever come across.
The applied i-cord edging all around the the piece (after blocking) has already made the corners as finished looking as can be. My purchased zipper is a perfect length (requires no shortening) and the navy color was easily matched. I will stitch the zipper in place by hand (as I do for most knitted garment zippers)... but I will not have to worry about how the stitches will look because... (1) The navy thread will also match perfectly making the stitches less visible, even on the wrong side, (something I can get fussy about)... (2) On the right side, the "well" where the I-cord is attached will perfectly both locate and hide the stitch line.
ALL ZIPPER INSERTIONS DEPEND ON DOING A GOOD JOB OF PINNING AND/OR BASTING.
OK, that truly is a #1 BIG something that really is a part of 'everything you need to know' about inserting a zipper of your own.
I have carefully pinned the zipper in place. Starting with the top and bottom...
and then pinning in between. A cardboard backed tablet helped me keep the pins through just the front layer.
I folded the top edges of the zipper tape at an angle to match the start of the v neckline.
Note: Because of the i-cord, the knitted edges will meet at the center of the zipper covering the teeth. For most sweaters with zippers, the edges cover only the zipper tape leaving the teeth exposed.
(IT HAS BEEN MY EXPERIENCE THAT) EVERY ZIPPER INSERTION TURNS OUT TO BE UNIQUE IN ITS OWN WAY.
And that is a #2 BIG something that really is a part of 'everything you need to know' about inserting a zipper of your own.
Photos of the hand-stitching will appear in my next post.