
As promised, I am posting a tutorial on the Kitchener Stitch Bind-Off which I learned from THE KNITTER’S BOOK OF FINISHING TECHNIQUES by Nancie M. Wiseman [Martingale & Co, 2002]. My tutorial will show this bind-off being worked in the round, and more particularly, on the top of a toe-up sock made from my Fingering Weight TATU Sock Pattern.
After you work the six rows of 1 x 1 ribbing; gather the sock, still on two needles; a spare needle (close to the same size), a tapestry needle and scissors.

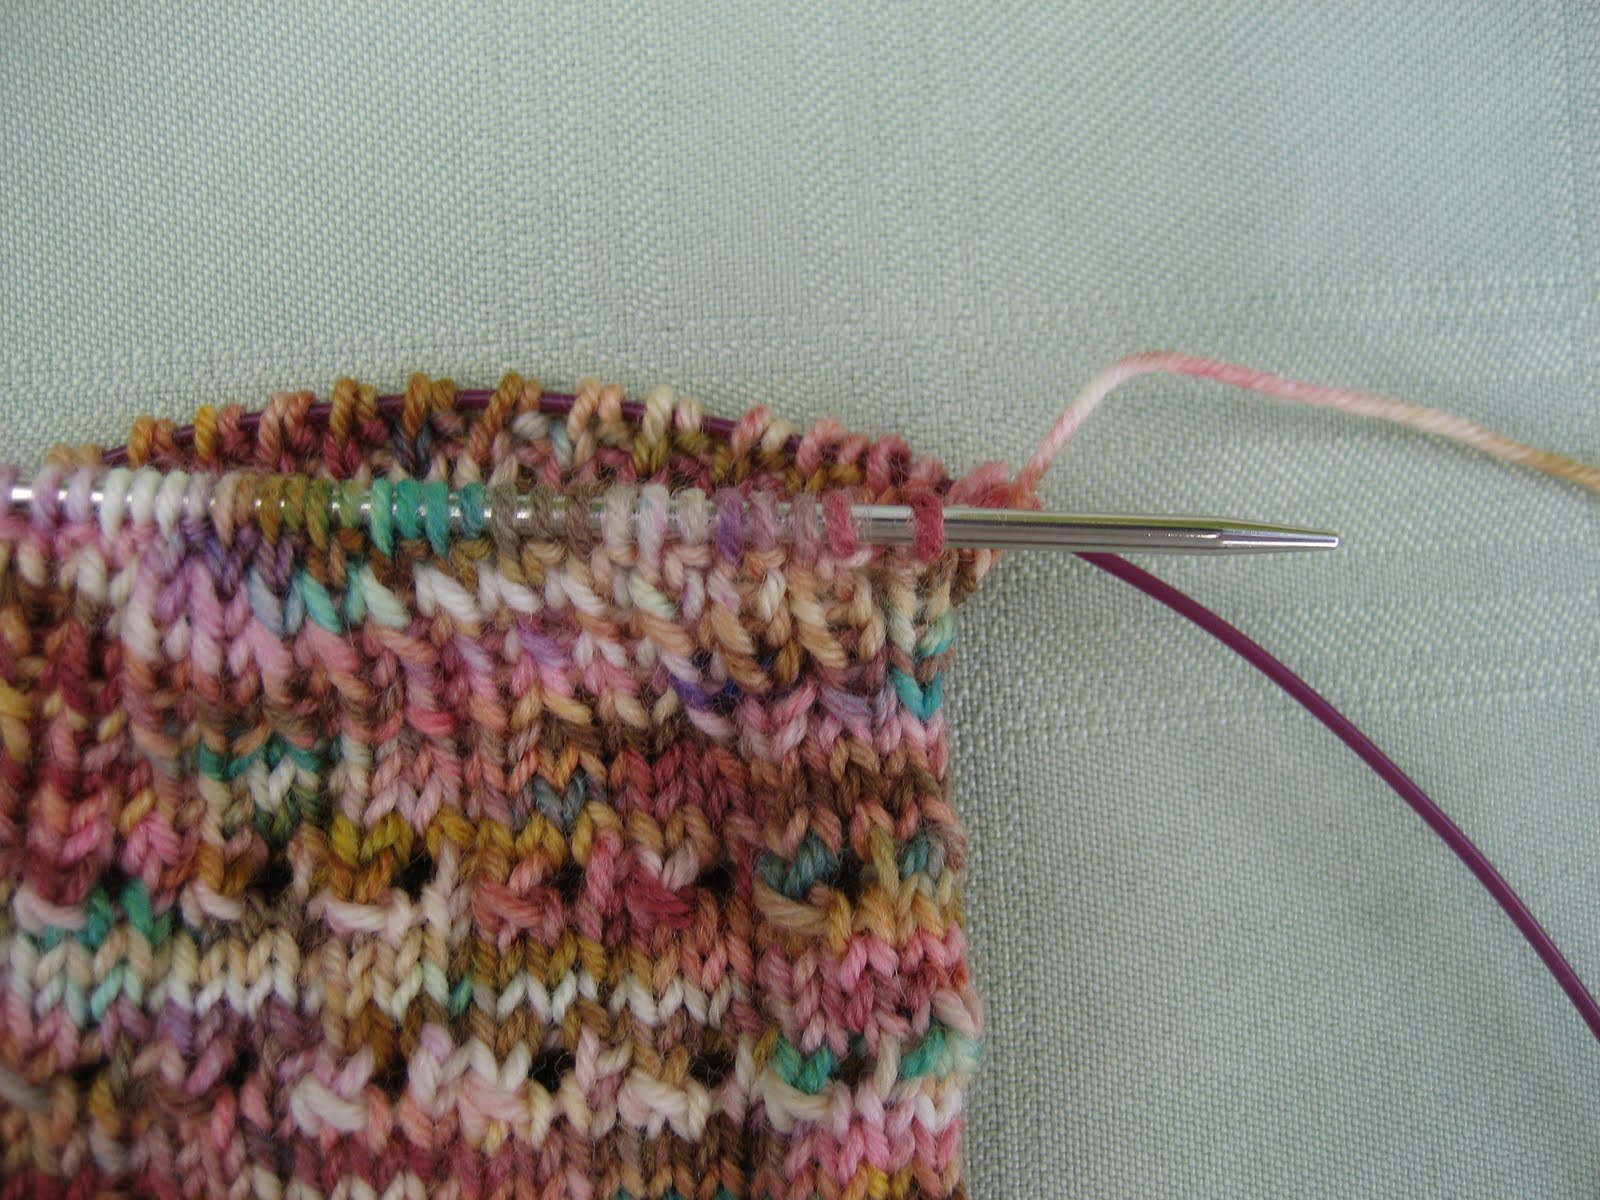
Half of the stitches are on each of your two circular needles, and each needle begins with a knit stitch. Place the stitches that were last knit (in the back of the above photo) on a spare needle. Mine are on a slightly smaller needle with a purple cable in the photo below. Slide the remaining half of stitches (in front) to the right needle tip as if to be knit (also shown below).
Find the left tip of the same needle and hold it with the tip of the needle that you just removed from the back stitches. Begin to separate the knit and purl stitches onto these two needle tips. All of the stitches are slipped purlwise. Slip the first (knit) stitch on one needle, and then behind this, slip the next (purl) stitch on the other needle. Repeat across.

Slide the stitches to the right needle tips. When viewed from front or back, knit stitches are facing you.

Cut the working yarn long enough to go around the top of the sock plus about 24 inches. Thread the yarn through your yarn needle. (This next part may sound familiar to you, if you have mastered the Kitchener stitch for grafting.) With the yarn needle go through the first stitch on front needle as if to purl.

Then go through the first stitch on back needle as if to knit.

THE FOLLOWING STEPS WILL BE REPEATED FOR EACH STITCH UNTIL ONLY ONE STITCH REMAINS ON EACH NEEDLE:
* Go through first stitch on front needle as if to knit and through next stitch on front needle as if to purl. Drop the first stitch.

Go through first stitch on back needle as if to purl and through next stitch on back needle as if to knit. Drop the first stitch.

Repeat from * until one stitch remains on each of the two working needles. It is very important to tension the bind-off to match the stretch of the ribbing. Periodically stop and pull the top of the ribbing out to the right as shown below.

When you have only one stitch left on each needle,

turn the sock and move stitches on the spare needle to right tip of needle. Then one by one move the knit stitches to your front needle and the purl stitches to your back needle, as before.

Slide all stitches to the right as before. Continue to work the Kitchener bind-off from * above.

Finish by passing yarn through last stitch on front needle as if to knit and drop it. Pass needle through top right side of next knit stitch to the left as if to purl. (This is shown in next photo below.)
Then pass needle through the last stitch on back needle as if to purl. Drop it. Pass needle through top right side of the next purl stitch to the left as if to knit.


This is my favorite way to finish a toe-up sock.
That makes such a nice finishing edge! If I am doing a knit 2 purl 2 ribbing would that make any difference? Maybe I will see you tonight at S&S to find out.
ReplyDeleteI decided I needed THE KNITTER’S BOOK OF FINISHING TECHNIQUES by Nancie M. Wiseman and have ordered it, sounds like a great resource. Of course you are a great resource too - so good to know if I have questions, you probably have the answer!
You ask a good question! In the book it says that it can only be used for knit one, purl one ribbing. Yet, I have a vague memory of it being mentioned that you could use it on knit two, purl two ribbing. I will have to look into it, or even try it.
ReplyDelete