Showing posts with label Stranded Colorwork. Show all posts

Saturday, December 15, 2018

New Design: SIDEREAL CHECK COWL


I have released my new stranded colorwork design, SIDEREAL CHECK COWL as promised. It is a companion piece to my recently released SIDEREAL CHECK HAT.  The pattern is available on Ravelry with a 25% introductory discount through midnight (EST) December 16.

As I mentioned in my last post, I was very fortunate to have my designs selected for yarn support by The Fibre Co as part of Autumn/Winter Yarn Support Programme. Their gorgeous, Arranmore Light is a new favorite of mine. It blends cashmere and silk with merino wool to create an autentic tweed yarn of the highest quality.

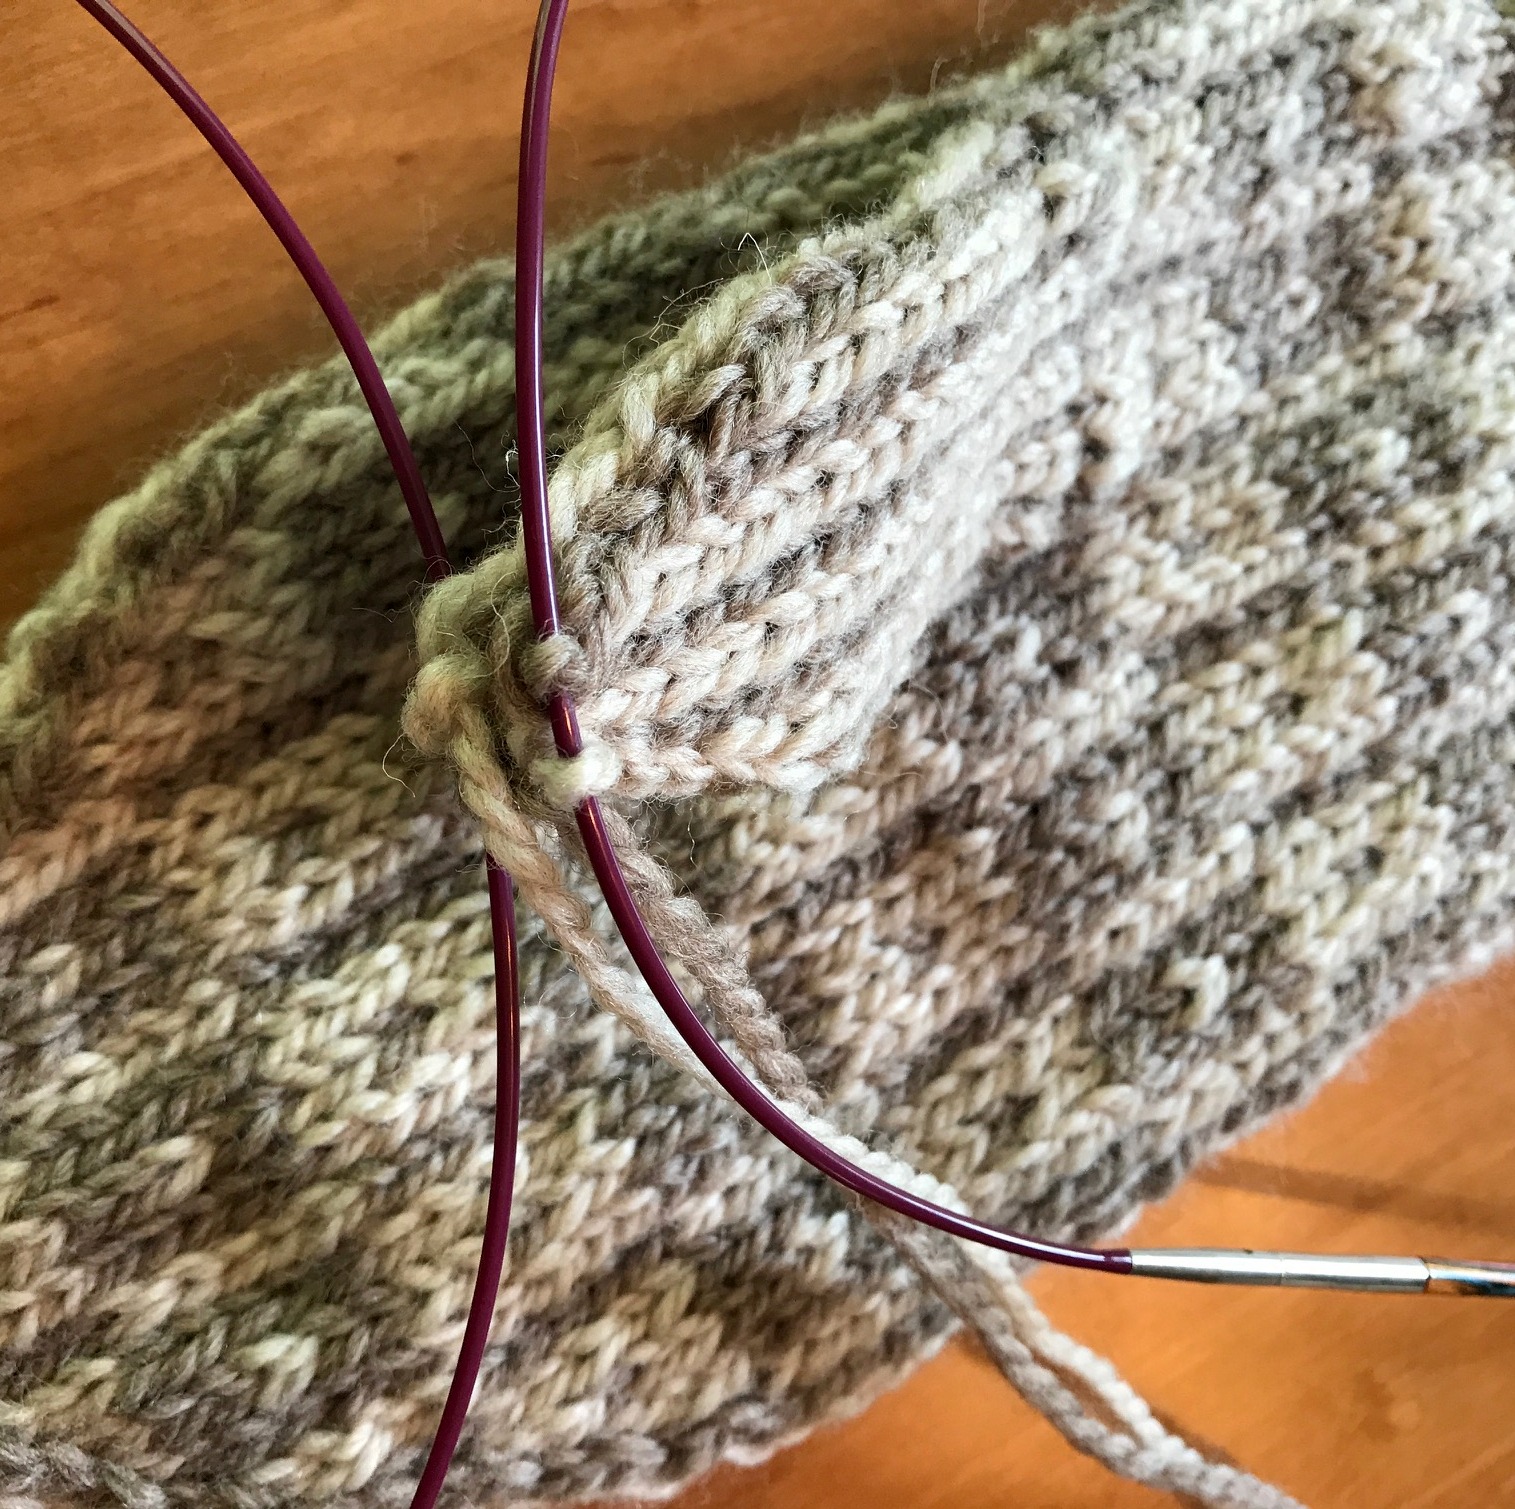
The reversible cowl, with one side in stranded colorwork and the other in a two-row stripe, has picot edgings. It begins with a provisional cast on and ends with three-needle bind off.

Finished Measurements 
33” 84 cm circumference and 9½” 24 cm height

Yarn
DK weight yarn 
348 yd 318 m Main Color (MC)
180 yd 165 m Contrast Color (CC)

Note: If making both hat & cowl with Arranmore Light, two skeins of the main color and one of the contrast color will be more than enough.


Thanks for reading!
xoxox

Thursday, November 29, 2018

New Design: SIDEREAL CHECK HAT


I am happy to finally introduce my new stranded colorwork hat pattern in two sizes, SIDEREAL CHECK HAT. This pattern is available on Ravelry with a 25% introductory discount through midnight (EST) December 2.

Earlier this year, I was thrilled to learn that I had been selected for The Fibre Co’s Yarn Support Programme AW 18/19. Their Arranmore Light blends cashmere and silk with a fine merino wool to create an authentic tweed yarn of the finest quality. I have always loved colorwork with tweed yarns.

I actually received yarn support for both the hat and a coordinating cowl that will be released two weeks from today, on December 13. These colorwork projects were inspired by high fashion garments featuring graphic variations of houndstooth check. I enjoyed charting some of these checks for stranded knitting.
The check pattern I use here was one of my favorites. I love how the background color appears as a series of four-pointed stars. ‘Sidereal’ means of or relating to distant stars or constellations.
The hat, with optional pompom, may be made in one of two sizes to fit most women (men).

Finished Measurements
18¼ (19¾)” 46.5 (50) cm un-stretched brim circumference and 10¾ (11¾)” 27.5 (30) cm un-cuffed height, will stretch to fit heads up to approximately 22 (24)” 56, (61) cm
Yarn
DK weight yarn
For hat:
152 (178) yd 139 (163) m Main Color (MC)
38 (44) yd 35 (40) m Contrast Color (CC)
For optional 3⅜” (8.5 cm) pompom:
additional 43 yd 39 m CC
Note: If making both hat & cowl with Arranmore Light, two skeins of the main color and one of the contrast color will be more than enough. (Arranmore Light has an amazing 328 yds per skein.)

Thanks for reading!
xoxox

Saturday, November 17, 2018

I hope you are out there somewhere!


For many weeks, I have worked on design samples and pattern-writing for my upcoming designs... A hat design will be released in two weeks and a cowl two weeks later.

My original swatch in The Fibre Co's Arranmore Light is where it all began. The Fibre Co. selected my proposal for their Yarn Support Programme AW 18/19. They provided yarn (in a very different color scheme) for both projects.

I am in need of a couple more test knitters for these designs (especially the cowl). Please consider test knitting one of these for me, if you have some experience knitting stranded colorwork from a chart.

For a lot more information on the hat test knit see this post on Ravelry.

For a lot more information on the cowl test knit see this post on Ravelry.

I have made the deadlines for these projects quite flexible. I only ask that you would have a Ravelry project page with flattering WIP photos ready to link to my pattern page on its release date.

Sidereal Check Hat coming November 29!
Sidereal Check Cowl coming December 13!

I look forward to hearing from you!!!
xoxox

Friday, May 19, 2017

THE THUMB & MORE (Part 3 of 3 - The Afterthought Thumb)

This is Part 3 (of 3) of my mini-tutorial on the afterthought thumb used in making my Multi-Pane Mittens. Part 1 was THE FORETHOUGHT. Part 2 was THE PICK-UP.
 
THE THUMB & MORE.

We ended Part 2 with a slightly scary looking thumb hole. Please do not be afraid of the floats!

 
IF YOU ARE USING DOUBLE-POINTED NEEDLES... You will need to introduce another needle before you can knit in the round. I suggest that you place the first 5 sts from the lower needle on a third dpn.

IF YOU ARE USING TWO CIRCULAR NEEDLES YOU ARE READY TO GO. All photos will show the use of two circular needles, my own preferred needle type.

The first row of the thumb will be knit in color A. I suggest that you leave an 8-10" tail when you join A at the right side of the bottom stitches. (The reason for this will follow near the end of this post.)

THUMB
Rnd 2: With A, k9... these will be straightforward,


pick up 1 st between bottom and top of thumb... make sure that you create the new stitch by going below at least two strands of yarn,


knit 9 sts for the top of thumb... ignore the floats attached to two of these... let them "float" behind your work,


pick up 1 st between top and bottom of thumb... once again, make sure that you create the new stitch by going below at least two strands of yarn,


– 20 thumb sts... Not so bad. Right?


Rnd 1: (Join B.) *With A, k1, with B, k1; rep from * to end...

Continue to follow pattern to finish knitting of thumb.


There is one more step to the afterthought thumb. More often than not you will have a hole on one or both sides of the thumb. If your holes are as noticeable as the one shown below, they will require a stitch or two to sew closed.


Usually you can use the tail that was created when you joined your yarn to begin knitting the thumb. (If not use a new piece of yarn and weave its end in to start.)

Turn the mitten inside out, and take little stitches catching just one yarn at a time.


Check the outside of the mitten before weaving in ends.


No more holes.


All that my mitten needs now is a nice bath. Stranded colorwork evens itself out beautifully after a gentle hand-washing.  Use lukewarm water and mild soap, rinse, blot out excess moisture and lay flat to air dry.


Thursday, May 18, 2017

THE PICK-UP (Part 2 of 3 - The Afterthought Thumb)

This is Part 2 (of 3) of my mini-tutorial on the afterthought thumb used in making my Multi-Pane Mittens. Part 1 was THE FORETHOUGHT.

THE PICK UP.


Before you can knit the thumb of your mitten, you will have to place the thumb stitches on needles, and remove the waste yarn. The Multi-Pane Mitten pattern has step by step instructions with photos. This tutorial will show the process in greater detail. 

Using two (double pointed or circular) needles, with first needle, from right to left, pick up 9 sts below waste yarn. (If you think of each knit stitch as a ‘V’ with a right and a left leg, you will be picking up the right leg of each ‘V’ below the 9 ‘V’s of your waste yarn. This part is rather straightforward.


 Your picked up sts should begin and end with A.)


Rotate the mitten 180 degrees.


With second needle, in a similar way, pick up 9 sts below waste yarn. In this position, the stitches you pick up will appear to be a half stitch to the left, and some of the 'V's will be have two different colored legs -- but once again, pick up the right side of each ‘V’ below the ‘V’s of your waste yarn.


Hint: Your 9 picked up sts should begin and end with B.


Carefully remove the waste yarn. I like to use a spare knitting needle to lift the waste yarn stitches, half-a-stitch at a time. (Remaining photos are with mitten cuff down.)


Now your mitten has a thumb hole. Some of the upper 9 stitches will have floats attached. Don't let them scare you. Tuck them into the mitten, and try to ignore them. They really will not be a problem and will stay behind the work after the first round of the thumb is knit.


What a lovely thumb hole!

My next post is on knitting and finishing the thumb. 

Part 3 of the The Afterthought Thumb: THE THUMB & MORE