
My last post "Small Stuff" was on April 8.
"Small Stuff" was about a handful of smaller FO's that I made mostly in the first 3 months of this year. In April, I finished some "Bigger Stuff".
I finished stitching the zipper into my Taiga #2 on April 12, 2014. (I noticed when I entered this date on Ravelry that my finish date for the project was exactly 1 year after the start date.)

Some of you may remember that in my sleeve post on this project, I mentioned finding two different zipper insertion tutorial-type posts. I ended up using neither, but bookmarking them for the future.
The first, for me, has a great idea for pinning in a zipper -- but with a selvedge edge being attached to the zipper. It does also show using a hand stitched back-stitch to actually sew the zipper in place. This is the stitching method that I do use most often; however, I hate the way it looks on the inside of the garment, and I usually end up adding a facing of some sort to hide the stitches. My Taiga #2 already had a folded front facing made from a partially steeked edge. Pinning the zipper to a selvedge edge was in no way possible, but also out of the question, was applying any sort of additional facing to hide the ugly hand stitching.
The second zipper post was, surprise!, in Swedish, but do scroll down to see it translated into English. Now this is a zipper insertion I love for not having ugly uneven hand-stitching show on the inside! But, I could not see using it on my Taiga, because of the Taiga's bulk and a little bit because it would be so very time consuming. I know that I will use this on another sweater someday.
My final decision was to, surprise!, machine stitch the zipper in place. Machine stitching with a thread closely matching the zipper color would certainly show the least on the wrong side. First, I carefully replaced my "pin-basting" with a hand-stitched basting in contrasting white thread.
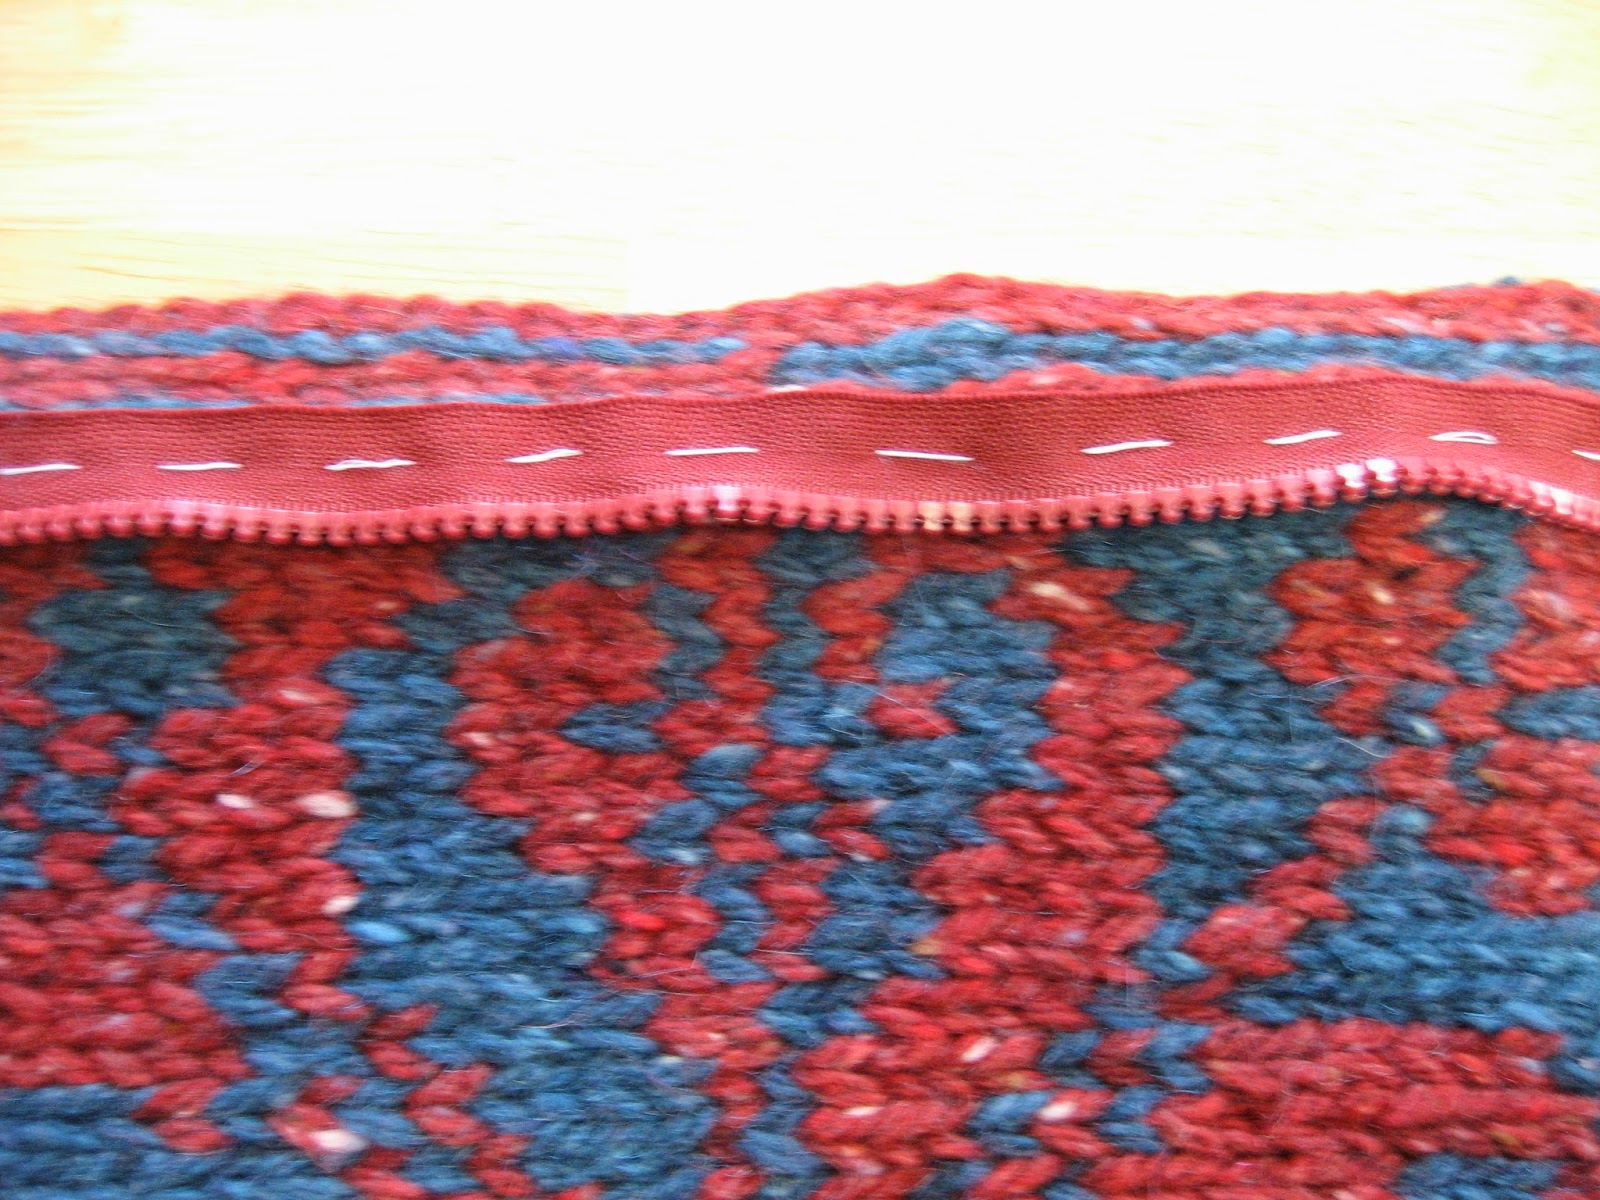
The white stitches were made exactly where the machine stitching would go through the knitting on the facing fold line.
 |
| I blame the bad lighting effect on my sewing machine light. |
If you look very closely in the next photo you can see the cranberry color machine stitches.

After removing the white thread, I folded the facing back and sewed it in place for the length of the neck ribbing, and from the lower edge of the sweater up to the top of the pocket facing. Except for the yarn ends used at the very top and very bottom, I used the cranberry colored sewing thread so as not to add any more bulk.
A close-up photo may show why I like the stitching to look good on the inside. If the top of the zipper is worn a bit opened, this stitching will show.

I consider my zipper application to be the best possible for this particular project. A very important point I like to make about making (anything) is that what is best for one project might be very different from what is best for another.
Happy knitting (and finishing) to you!
I'd love to have a knitted sweater with a zipper. What a great job!
ReplyDeleteI enjoyed looking through the Swedish post. I have never installed a zipper into a knitted garment? There is always something new to learn!
ReplyDelete